Hello, in this post I will show how I set up my computer for game development in Unity. This would involve the installation of the Unity game engine, .NET Core and .NET Framework for the dependencies, Visual Studio Code as my text editor/IDE.
Do take note that while these instructions are made in Windows 10, it should be pretty much the same for other operating systems.
Installing Unity
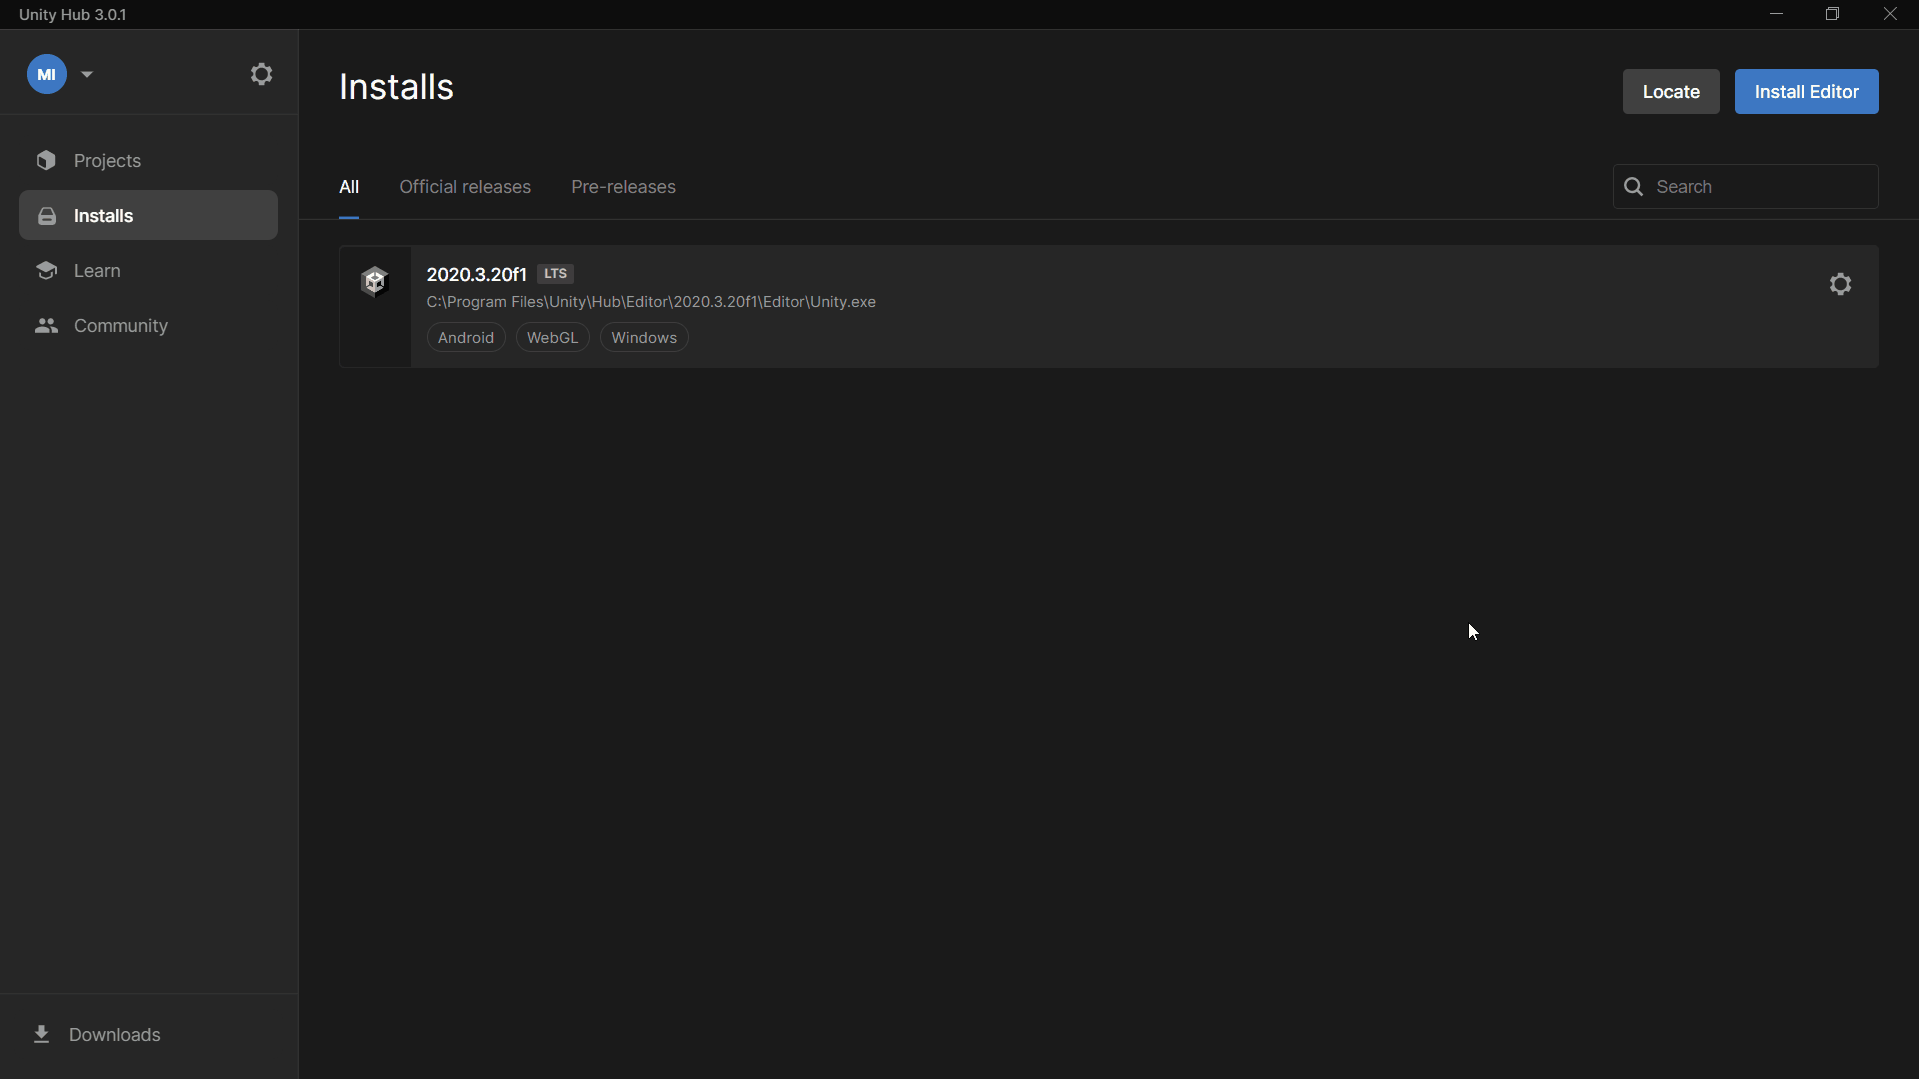
Installing Unity is pretty straightforward. First, download and install Unity Hub here, then once you have logged in and registered a license, you would be able to download and install a Unity Editor.
To install a Unity Editor, go to the Installs section on the left side of Unity Hub, select Install Editor and install the latest LTS version offered by Unity. Deselect the Microsoft Visual Studio Community 2019 option as we would be using Visual Studio Code as our text editor.
I deselected the Documentation option as well, but it is up to you if you would need it.
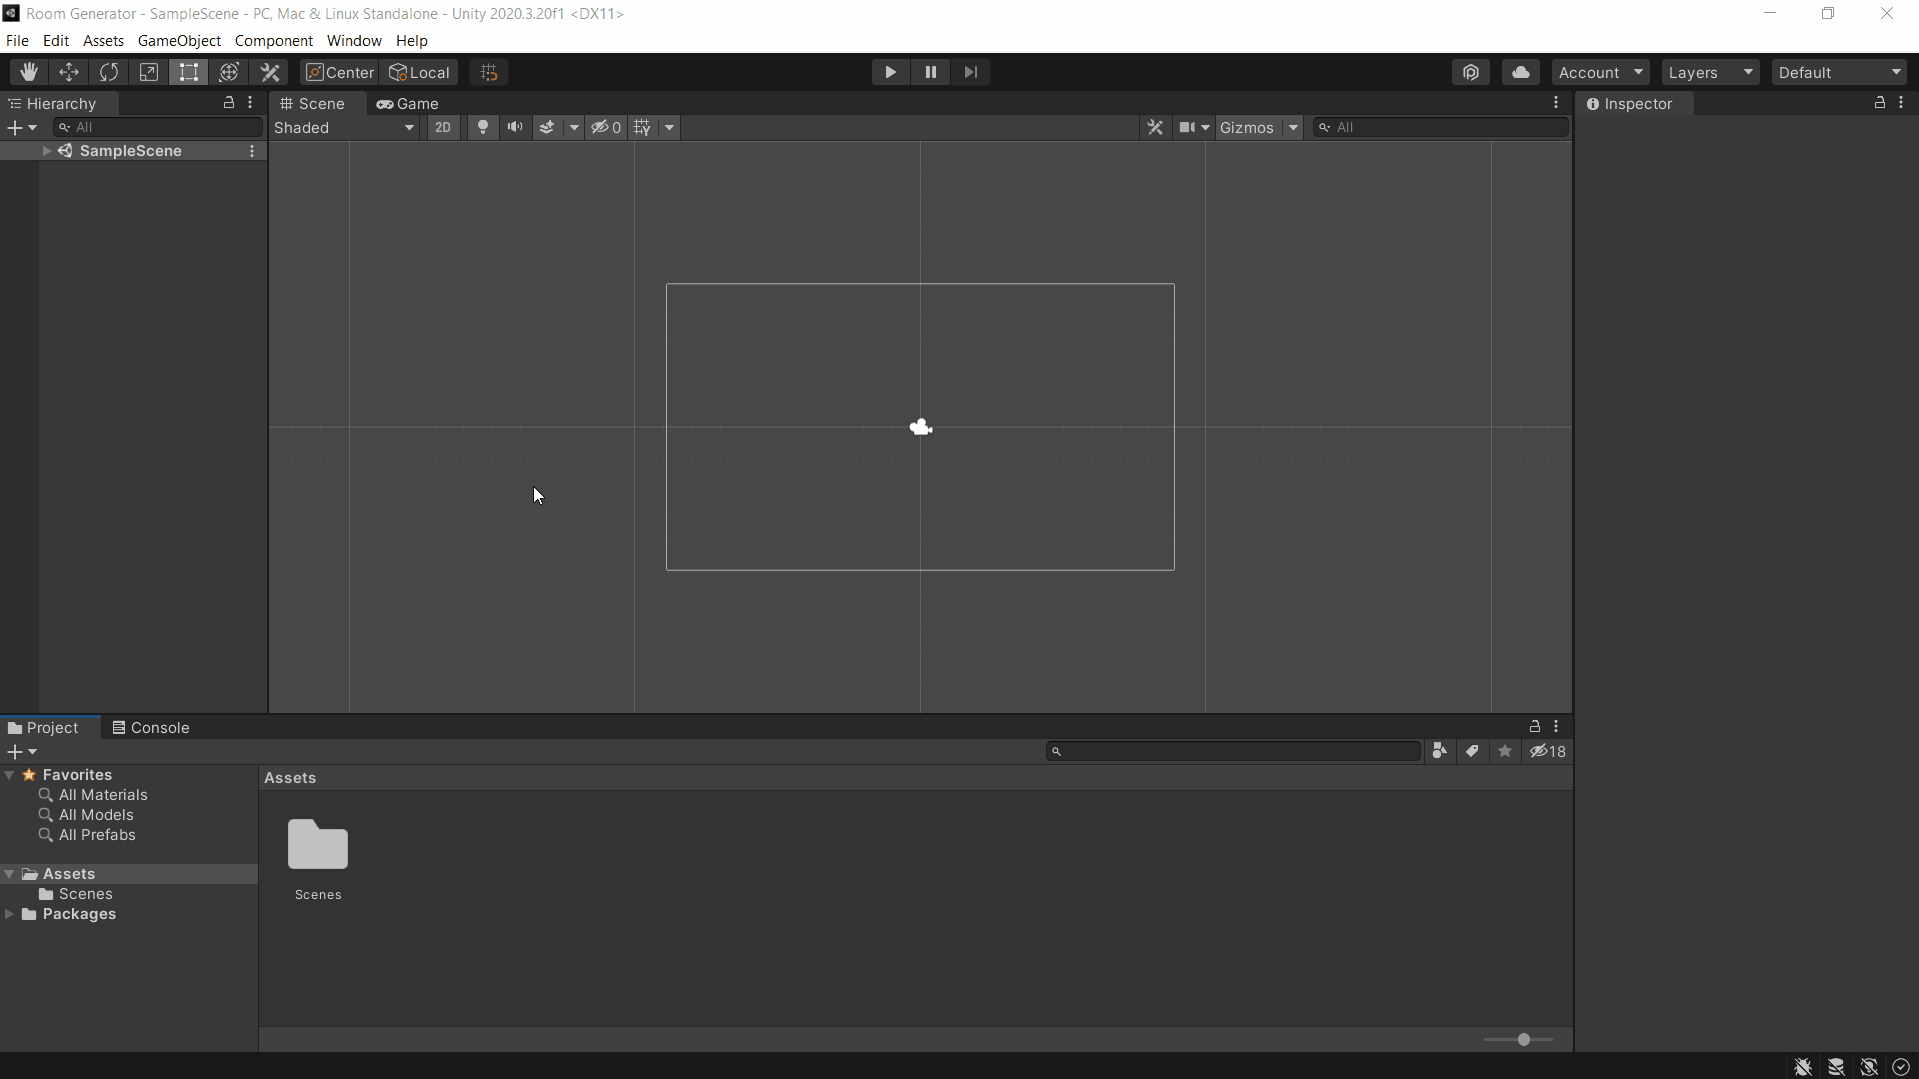
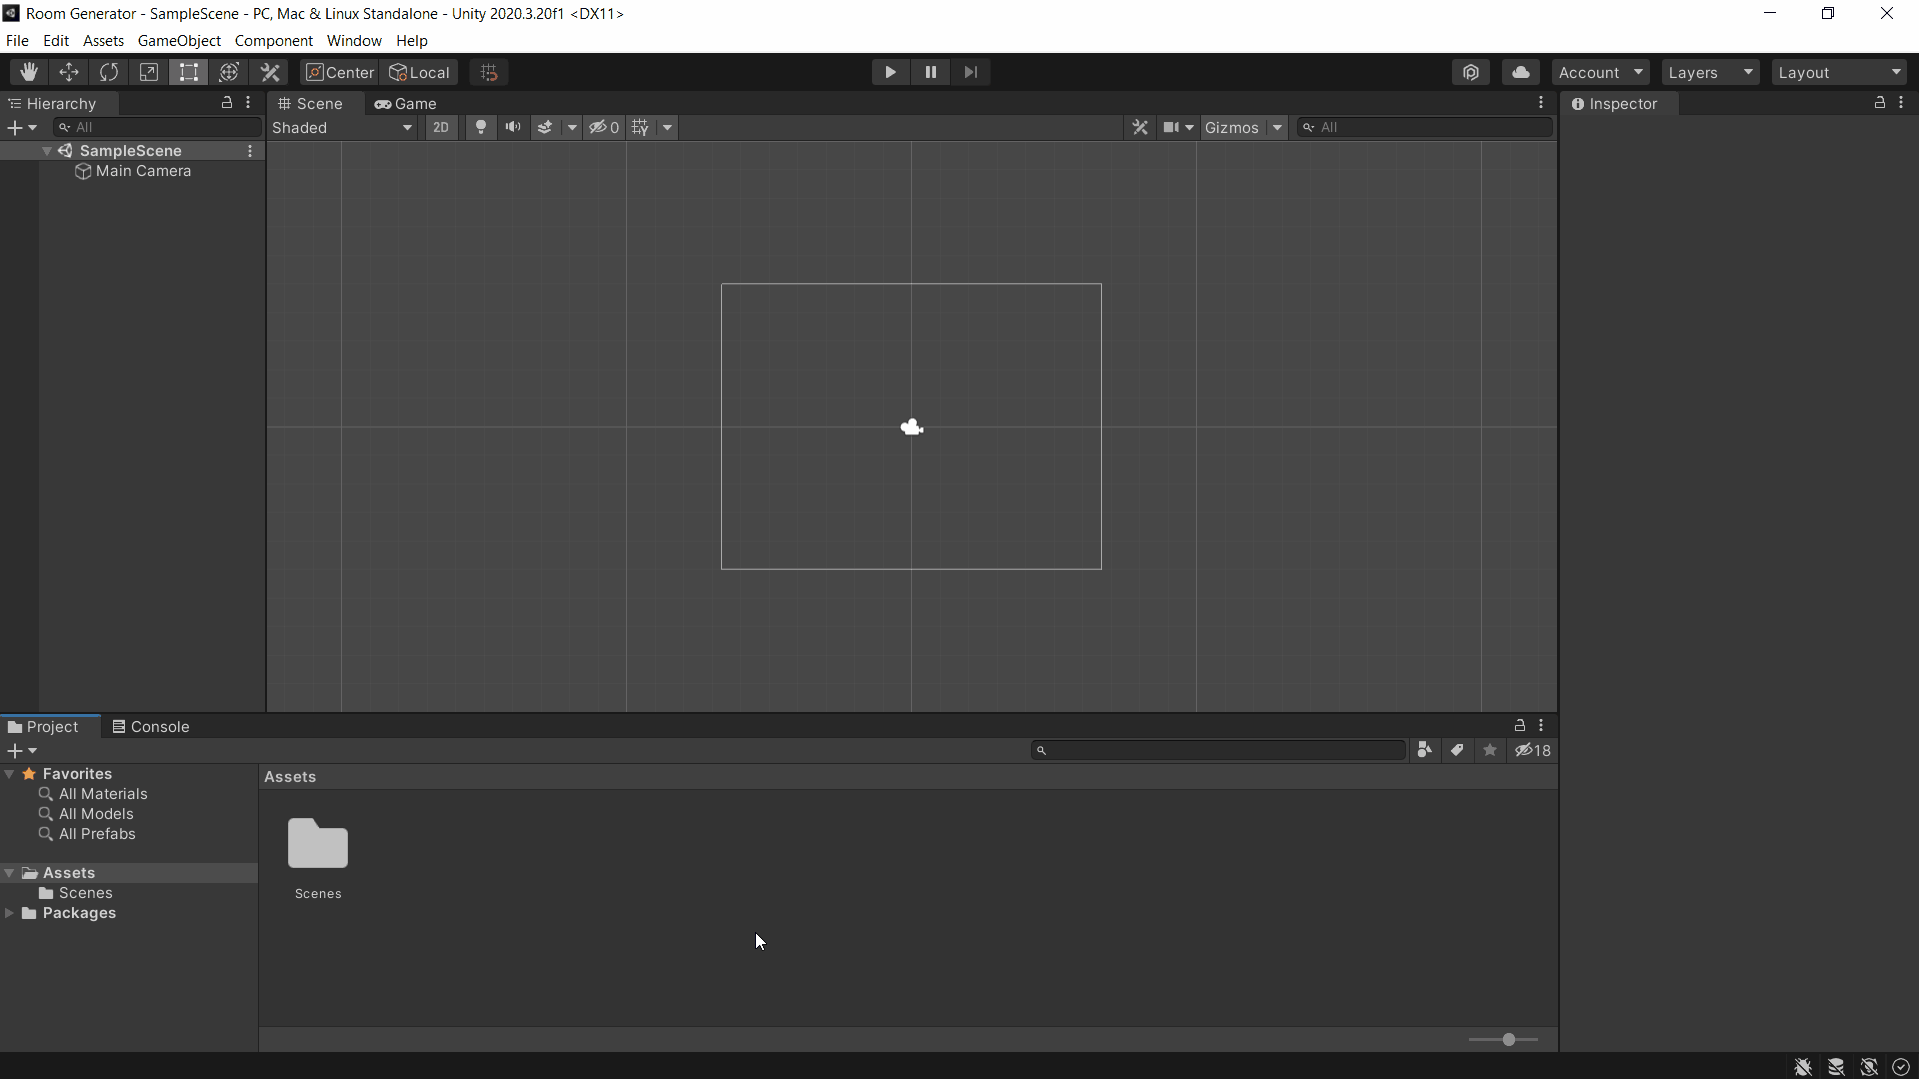
And that’s it. Unity is now installed on your computer, but we would need a few more things before we can make a game.
Installing .NET Core and .NET Framework
As of the time of writing, I prefer using .NET Core and .NET Framework for Unity rather than the latest version .NET due to the other tools I use in my system outside of game development.
Do take note that these are the dependencies needed by Unity as of their latest LTS version, 2020.3, and could be outdated in the future versions.
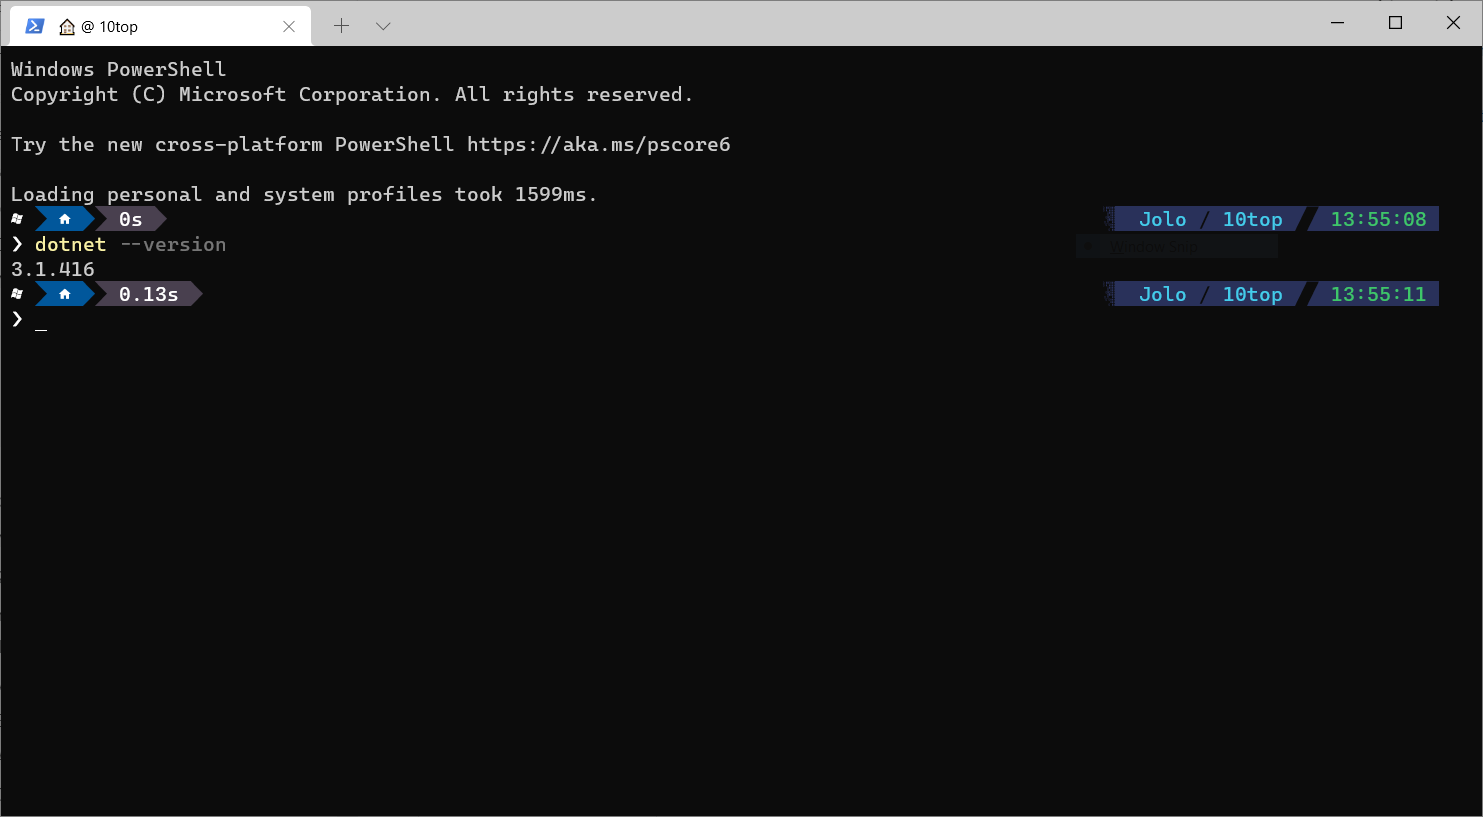
To start, download and install the latest version of .NET Core 3.1 which can be found here, then download and install .NET Framework 4.7.2 which can be found here. After that, open up Powershell and run dotnet --version, and it should return the version of dotnet you have installed. If it throws an error, try restarting your computer and run the command again. If it works, your dependencies for Unity is pretty much complete.
If you are using a different operating system such as Linux, check out Mono as an alternative to .NET Framework.
Setting up Visual Studio Code
I use Visual Studio Code as my text editor because it is very versatile and can be used for more than just writing code for Unity so I always have it installed in my system. To start, download and install Visual Studio Code here. Afterwards, install the C# extension and once it’s complete, you can close Visual Studio Code for the meantime.
Visual Studio Code also has a written guide on their site about using Visual Studio Code and Unity, so check that out as well if you are running into issues.
To setup Visual Studio Code as your default script editor for Unity, in the menu bar on top of the Unity Editor, go to Edit > Preferences..., and this should open up a window. Select External Tools and under External Script Editor select Visual Studio Code.
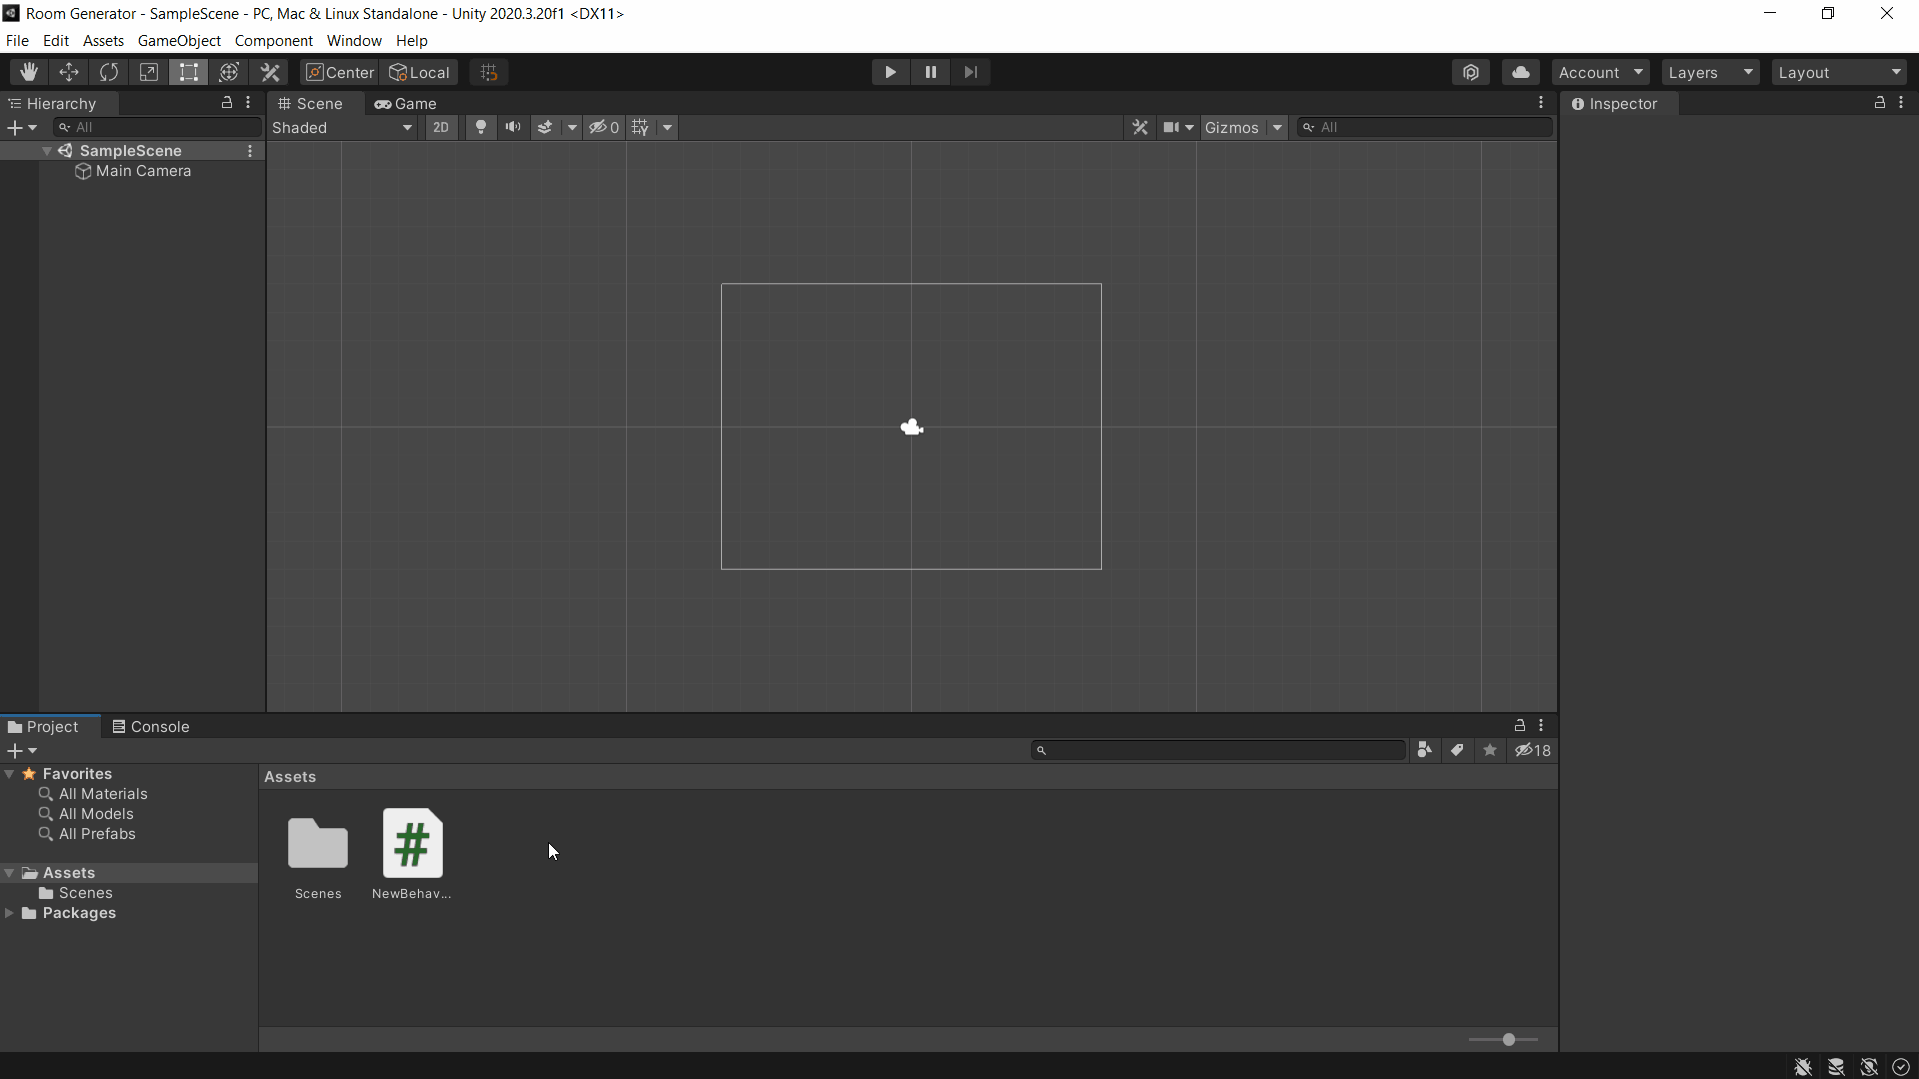
Afterwards, create a script by right-clicking the project folder and selecting Create > C# Script, rename this however you want but for now, the default name is fine. Double click the newly created script and this should open it up in Visual Studio Code. Under the Start method, write print("Hello World");. As you type, Visual Studio Code should show some suggestions. If these do not appear, wait for the project to fully load in the editor or if it persists, try reinstalling the dependencies or the C# extension.
Back in Unity, drag the script you have made (for this example it’s called NewBehaviourScript), into the Main Camera gameobject under the Hierarchy, then press the Play button. This should print Hello World to the console.
Recommended Extensions
Unity Extensions
Aside from the C# extension for Visual Studio Code, I also recommend the Unity Tools Unity Code Snippets extension for ease of use with Unity.
Visuals
For themes and icons I usually use Dracula Official and Material Icon Theme, but there are a lot more to choose from. I also install Indent Rainbow and Bracket Pair Colorizer 2 which helps in readability.
And that’s it! Your computer is now set up for developing games in Unity.